This guide will help you fast-track your audit readiness and ensure you're prepared for success.
1. Connecting your Key Systems
Begin your compliance journey using Drata's Quick Start button in the top left corner — it streamlines your initial system connections.
Essential System Integrations:
- Cloud Providers (AWS, Azure, GCP)
- Databases (PostgreSQL, MySQL, MongoDB)
- Version Control (GitHub, GitLab, Bitbucket)
- Identity Providers (Microsoft, Okta, Azure AD, Google Workspace)
- Mobile Device Management (Jamf, Kandji, Intune)
✅ In-scope: Production systems, databases containing sensitive data, and any infrastructure processing customer information
❌ Out-of-scope: Development, testing, and sandbox environments
💡 Pro Tip: Coordinate with your IT team early—you'll need admin-level access for each integration. Identify system owners and schedule connection sessions to avoid delays.
📖 For detailed integration instructions, refer to Drata's Quick Start documentation.
2. Scope your Controls
Drata comes with a broad set of default controls, but you don't need all of them for your audit.
- Your audit with us only requires a subset of controls.
- There are approximately 50 controls relevant for Security, Availability, and Confidentiality Trust Service Criteria. We've included Processing Integrity & Privacy, however these are not tested by default.
- Controls that are NOT on the guidance document provided below, can safely be marked as 'Out of Scope' in Drata. This is not a requirement, just a recommended practice for new clients.

📖 Download Sensiba's SOC 2 Control Framework Guide here (updated June 1st, 2026)
💡 Please note, the auditors will assess the requirements within the context of the audit scope and may request additional evidence if appropriate.
3. Set up your Audit Package in Drata
Set up your audit in Drata and add our audit team.
We recommend granting access as early as possible → we won't start the audit until you confirm you are ready!
Create your Audit
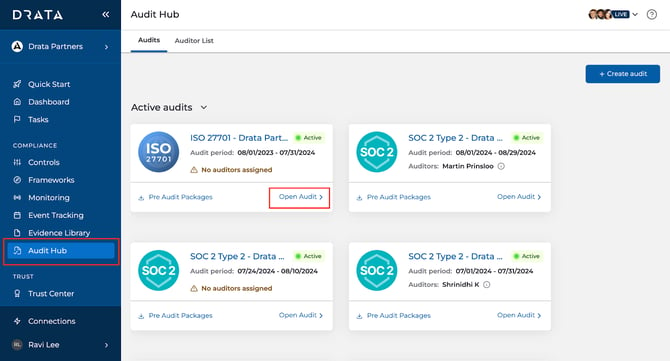
1. Navigate to the Audit Hub tab and select Create Audit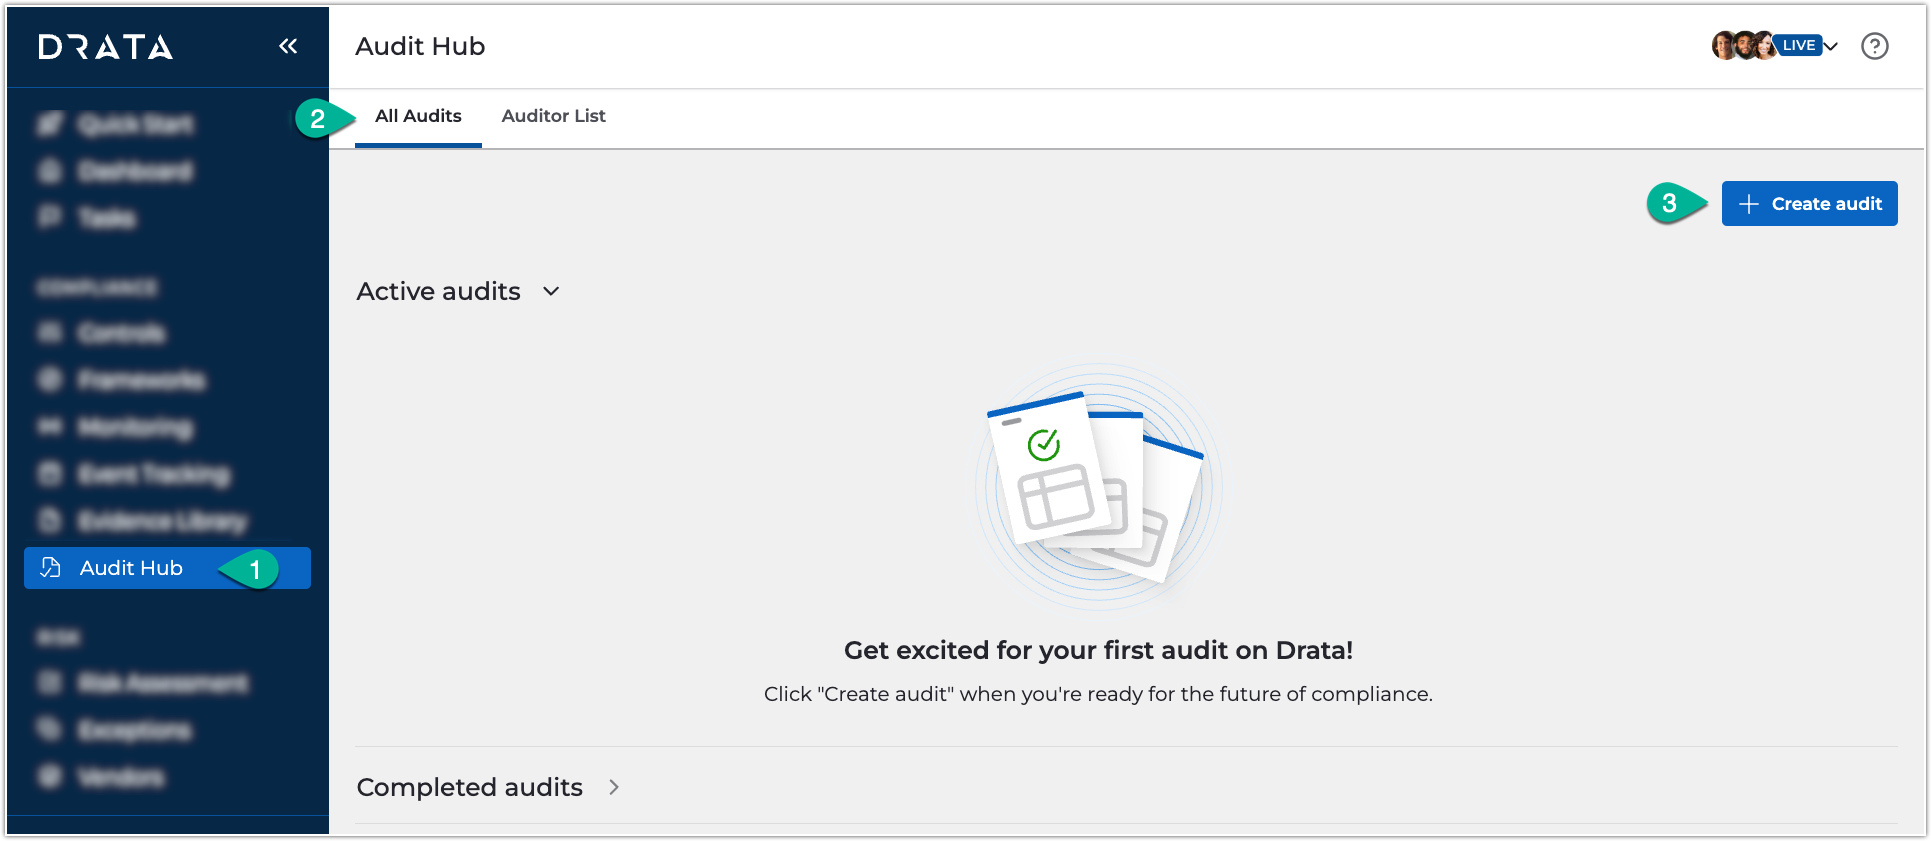
2. Configure your audit parameters:
-
-
- Audit type: SOC 2 Type 1 or Type 2
- Audit period: Select your observation timeframe (dates can be adjusted later if needed)
-
3. Invite auditors using the dropdown menu or send new invitations as needed
Grant Sensiba Auditor Access
Once your audit is created, provide access to enable immediate support:
- Navigate to Audit Hub → Open Audit
2. Select the edit icon under Assigned Auditors.
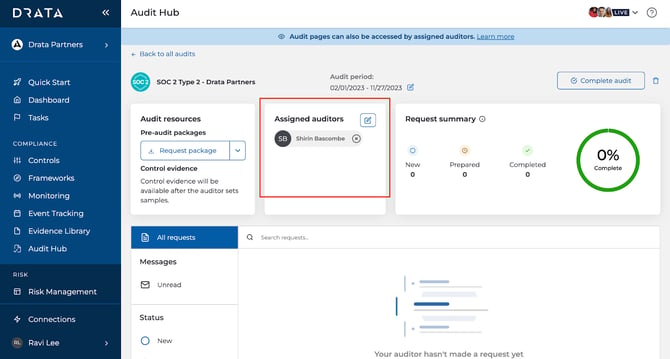
3. Add your auditors:
- GRC Operations - grc@drata.sensiba.com - our AI audit assistant
- Your assigned Lead Auditor (your CSM will share this information with you on your kick off call).
4. Enable the following permissions for all auditors:
-
Read-only access
- Download permission for Controls, Tests and Requirements
💡 Need a step-by-step? Watch the Drata Audit Hub Overview for a walkthrough of the setup process.
4. Complete the Scoping Task through Sensiba Workspace
Sensiba Workspace is our new internal audit tool that will be used to perform your audit hand in hand with Drata.
Once your Lead Auditor has been introduced, they will provide instructions and request a task through Sensiba Workspace for you to complete the 'General & SOC 2 Scoping Task'.
The scoping task will define the boundaries of your audit and forms the basis of your final report - It tells your auditor exactly which systems are in scope.
💡 For new Sensiba clients, the General & SOC 2 Scoping task must be completed before the auditor can start the audit, but is not required to complete prior to the handover from Customer Success Team.
5. Configure your Compliance Foundation
For Type 1 Audits: Start with the Essentials
Now that your systems are connected, it's time to build the operational backbone of your compliance program.
Type 1 audits evaluate whether your controls are properly designed at a specific point in time. Focus on these four foundational areas:
- Personnel – Add all employees within your audit scope. Include contractors only if they have privileged access to critical systems or sensitive data.
- Policies – Upload and assign your security policies, then track employee acknowledgments. You can use Drata's pre-built templates or create custom policies through our Policy Tree tool.
- Automated Monitoring – Turn on automated testing for your most critical controls to maintain continuous visibility into your compliance posture.
- Drata Agent – Install the Drata Agent for all applicable personnel to track device compliance (e.g., disk encryption, antivirus).
These items represent the minimum required to get your Type 1 audit underway. Once you've completed the above, reach out to your CSM to kick off your audit.
Strengthen Your Foundation
- Risk Management – Identify and document organizational risks, assign ownership, and create mitigation plans. Focus on high and critical risks first. See our Risk Assessment Guide for step-by-step instructions.
- Vendor Management – Build your vendor register, classify vendors by risk level, and review security documentation for high-risk third parties.
💡 Pro tip: The stronger these foundational areas are from day one, the faster and smoother your audit will run.
💡 Learn at your own pace: Explore Drata's comprehensive video training library to master the platform and build audit readiness.
Ready for Type 2?
SOC 2 Type 2 audits require continuous evidence of control effectiveness over time. Refer to our dedicated Type 2 Quick Start Guide for detailed preparation requirements.
📖 Type 2 Preparation: Review Drata's SOC 2 Checklist for a comprehensive overview of Type 2 evidence requirements and timeline considerations.